How to sharpen a serrated knife?
Don’t be so quick to toss out that dull bread knife—it’s probably not beyond saving. Unlike your chef’s knife or santoku that need regular sharpening after a few weeks of chopping veggies and meat on a hard cutting board, serrated knives have a bit more staying power.
That’s because most of the blade only touches the food, not the board—so it stays sharper, longer.
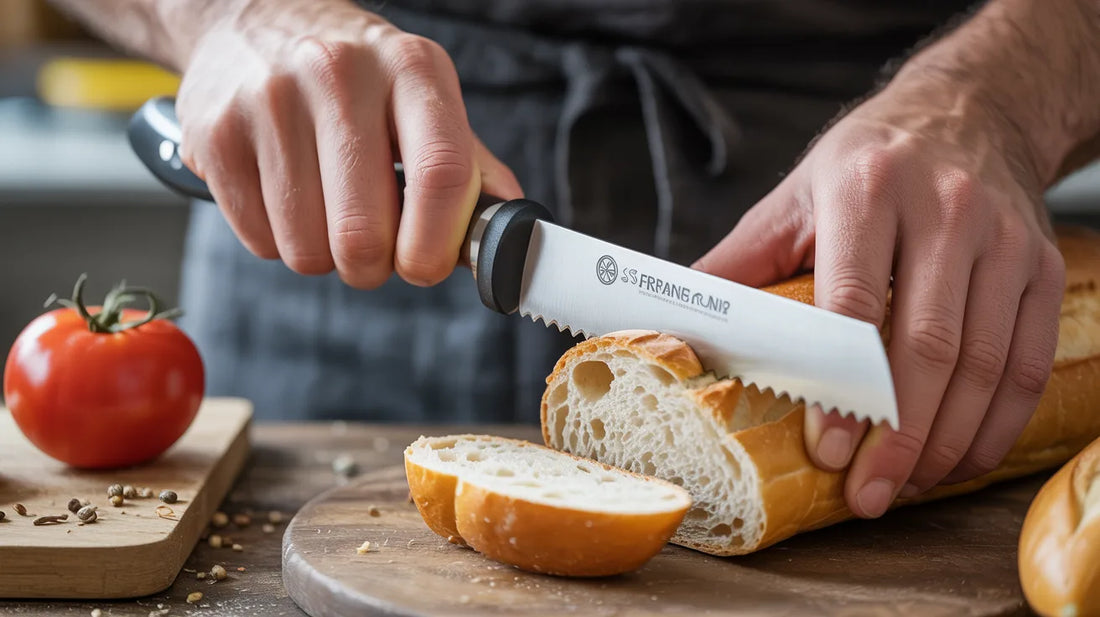
And thank goodness for that, right? These knives are lifesavers in the kitchen when you're slicing through crusty baguettes or gliding through a soft tomato without squishing it into pulp. It’s those little saw-like grooves that do all the magic—they grip and cut without crushing.
But here’s the tricky part: those same grooves are what make sharpening a serrated knife feel like a puzzle. The good news? It’s totally doable at home once you understand the process. Whether you’re a casual cook or a total kitchen nerd (no shame in that), learning how to care for your serrated blades will save you time and money.
We've put together a simple Knife care guide—with tool tips and techniques—to make sharpening feel less like a chore and more like a quick win.
If you’re exploring different blade types, understanding the Nakiri Knife can give you insight into how flat-edged knives compare to serrated ones in the kitchen.
Understanding Serrated Knives
Whether you’re slicing crusty baguettes or gliding through soft fruits, the way your serrated knife works is a bit different from a straight-edged one. Instead of a smooth blade, serrated knives have a row of sharp “teeth” that do most of the cutting.
Each of these teeth forms a gullet—the little valley between the points—while the bevel (or angled edge) controls how the blade slices through food
-
Why They Stay Sharp Longer
Here’s the secret: serrated knives don’t make full contact with the cutting board like regular knives do. When you cut bread or tomatoes, it’s only the pointed tips of the serrations that touch the food. This means there’s less friction and wear on the blade, which is why they stay sharp much longer than your standard chef’s knife.
-
Busting Common Myths
A lot of people think serrated knives either never need sharpening or should be sharpened all the time—neither is true. Over time, even a good bread knife will start to feel less effective, especially if you use it regularly.
According to John Somerall, professional knife sharpener and Food & Wine’s senior research strategist, one way to test if your knife is dull is the classic tomato test.
If the blade squashes the tomato or drags through the skin instead of slicing cleanly, your serrated edge is overdue for some TLC.
Some knives also raise legal questions—like the Butterfly Knife, which has unique restrictions you should know about if you’re a knife enthusiast.
Why Sharpening Your Serrated Knife Is Necessary
How often should you Sharpen Damascus knives? Well, it really depends on how often you use it. If you’re regularly slicing through crusty baguettes or hearty loaves, your knife will need a touch-up sooner than someone who only pulls it out on Sunday mornings to cut a bagel.
That said, even the hardest-working serrated knife doesn’t need sharpening nearly as often as a straight-edged one. The design helps preserve its sharpness—but it’s not immune to wear.
Warning Signs It’s Time to Sharpen
Here are a few telltale signs your serrated blade is past its prime:
-
Excessive breadcrumbs: If you’re seeing lots of crumbs after slicing bread, your knife is tearing the loaf rather than cutting it cleanly.
-
Jagged crust edges: When the crust looks ripped or ragged and you’re pressing harder than usual, that’s a clear sign the blade is dull.
-
Struggling with soft foods: A dull serrated edge will squash instead of slice—especially with delicate items like tomatoes.
According to John Somerall, a classically trained chef and knife sharpener, these little signals mean it’s time to give your blade some attention.
Still unsure? Try the tomato test—serrated knives should glide effortlessly through the skin. If you’re squishing the tomato or getting uneven slices, your knife needs sharpening.
Tools You’ll Need to Sharpen a Serrated Knife
Sharpening a serrated knife is a bit different than sharpening a straight-edged blade—it takes more precision and the right tools. You can’t just run it through an automatic sharpener and hope for the best. In fact, doing so could actually damage your knife.
Here’s what you’ll need to get the job done properly:
-
Honing steel (round type) – Ideal for reaching into the valleys (gullets) between each serration.
-
Sharpening rod – Usually ceramic or diamond-coated, this tool lets you work on each individual scallop one by one.
-
Sharpening stone – Great for gently refining the flat side of the blade, especially to remove burrs after working on the serrations.
Important tip: Avoid using standard electric or pull-through sharpeners. These often sharpen both sides of a blade simultaneously—which works for straight knives but can wreck a serrated edge. That’s because serrated knives are designed with one beveled side (where the teeth are) and one flat side.
Instead of dragging the whole knife across a rod like you would with a chef’s knife, you’ll need to focus on each serration individually. Think of each tooth as a tiny blade that deserves its own attention.
Once you’re done with the teeth, you can flip the knife and use a sharpening stone to lightly smooth out the flat side. This helps remove any burrs and polishes the edge for a clean finish.
Sharpening methods also depend on the tools—learning how are whetstones made can help you understand why they’re trusted for precision sharpening.
Step-by-Step: How to Sharpen a Serrated Knife
Sharpening a serrated knife isn’t as straightforward as honing a chef’s knife, but once you get the hang of it, it’s a pretty simple process. Here’s a clear step-by-step guide to bring your serrated blade back to life:
Step 1: Find the Beveled Side
Start by identifying the beveled edge of your knife—that’s the side where the serrations are ground at an angle. It might not be obvious at first glance, so hold the knife under a light and slowly rotate it. The beveled side will catch the light and look slightly shinier than the flat side.
Most serrated knives only have one beveled side and one flat side, but in rare cases, some knives are double-beveled. If yours is beveled on both sides, you’ll need to sharpen both edges equally and can skip the step for sharpening the flat side later.
Step 2: Pick the Right Sharpening Rod
Next, choose a sharpening rod that matches the size of your knife’s gullets (the valleys between the serrations). The rod should fit snugly into each groove. Diamond or ceramic rods are ideal—they’re precise and gentle, letting you maintain control while working at the right angle.
Test a few before starting. If the rod is too large, it won’t reach the edges properly. Too small, and you risk uneven sharpening.
Step 3: Sharpen Each Serration One by One
Here comes the most hands-on part. Gently insert the sharpening rod into the first gullet on the beveled side of the blade. Using light pressure, slide the rod through the groove, following the curve of the scallop.
Repeat this motion four to five times per tooth, moving slowly and evenly. Keep the rod aligned with the original angle of the serration to avoid changing its shape. Each tooth should be treated like its own tiny knife—this attention to detail ensures an even, clean edge across the whole blade.
Yes, it’s a little tedious—but it pays off when your bread knife slices through crust like butter.
For smaller and detailed kitchen tasks, it’s worth knowing which type of knife should be used for small, intricate cuts? so you can pick the right blade for delicate prep.
Step 4: Smooth the Flat Side
Once you’ve sharpened all the serrations, check the flat side of the blade. You may notice tiny burrs or metal shavings from the sharpening process. These need to be cleaned up to prevent a rough or snaggy cut.
Use a fine-grit whetstone to gently polish the flat edge. A few light passes should do the trick. If the knife was very dull, consider using both medium and fine grits to get it back into top shape. Just like with a straight-edged knife, you want a smooth, clean finish.
Step 5: Clean and Test Your Knife
After sharpening, your knife will likely have small metal particles or dark smudges along the blade. Wash it thoroughly with warm, soapy water and dry it completely.
To test your work, try slicing through a tomato, loaf of bread, or even a piece of paper. If the blade glides through easily without tearing or crushing, congratulations—you’ve successfully sharpened your serrated knife!
Sharpening serrated knives isn’t something you’ll do often, but it’s worth the effort. A sharp knife isn’t just easier to use—it’s also much safer. Taking a few extra minutes a couple of times a year can save you a lot of frustration (and possibly a trip for stitches).
Common Mistakes to Avoid When Sharpening Serrated Knives
Sharpening a serrated knife requires a more careful approach than most people realize. Making the wrong move can actually damage your blade or wear it down too quickly. Here are some common mistakes to watch out for—and how to avoid them:
-
Using electric or pull-through sharpeners: Most of these tools are designed to sharpen both sides of a blade evenly, which is fine for straight-edge knives—but it can destroy the serrations on a serrated knife.
-
Treating it like a regular knife: Serrated knives aren’t meant to be dragged across a flat sharpening stone. Each scallop (or gullet) needs to be sharpened one at a time with the proper rod.
-
Over-sharpening or removing too much metal: This can gradually widen the gaps between the serrations, permanently changing the shape and reducing cutting performance.
-
Using the wrong rod size: If the rod is too big or too small for the gullets, you won’t get a proper edge—and you might end up damaging the teeth.
-
Sharpening too often: Unlike chef’s knives, serrated blades only need sharpening occasionally. Doing it too often just wears the knife out faster.
-
Sharpening both sides on a single-bevel knife: Most serrated knives have only one beveled side. Honing the flat side will ruin its design and affect performance.
By avoiding these common pitfalls, you’ll preserve your knife’s structure, get cleaner cuts, and make sure your serrated blade lasts for years to come.
Maintenance Tips for Serrated Knives
Taking good care of your serrated knife not only keeps it sharp longer but also helps reduce how often you need to sharpen it. Here are some simple tips to keep your blade in top shape:
-
Always hand wash your knife — Dishwashers can dull the blade and damage the delicate serrations, so stick to gentle hand washing with warm, soapy water.
-
Store it properly — Use a knife block, magnetic strip, or blade guards to protect the serrations from getting nicked or damaged when not in use.
-
Hone occasionally — A quick touch-up with a ceramic rod between sharpenings helps maintain the edge and keeps your knife ready for everyday tasks.
-
Sharpen only when needed — Serrated knives don’t require sharpening as often as straight blades, so save the heavy sharpening for when you really notice a dull edge.
-
Keep it dry — After washing, make sure to dry your knife thoroughly to prevent rust and corrosion.
-
Avoid hard cutting surfaces — Cutting on glass, stone, or other hard surfaces can quickly wear down the serrations. Use wooden or plastic cutting boards instead.
-
Use proper cutting technique — Let the serrated edge do the work by slicing with a gentle sawing motion. Avoid pressing too hard or forcing the knife through food.
Following these simple care tips will help your serrated knife perform at its best and last for years to come. If you’re looking for thoughtful kitchen presents, Damascus blades also make memorable Retirement Gifts thanks to their lasting value and craftsmanship.
When to Replace Your Serrated Knife Instead of Sharpening
Sometimes, sharpening just isn’t enough. If you have a lower-quality serrated knife, it might not be worth the time and effort to maintain it properly. In fact, if the cost of sharpening approaches or exceeds the price of a new knife, replacing it can be the smarter choice.
Here are some signs that it’s time to invest in a new serrated blade:
-
Deep chips or damage to the serrations that can’t be fixed through regular sharpening.
-
Broken or missing teeth that permanently reduce the knife’s cutting ability.
-
Warped or bent blades that no longer lay flat on cutting surfaces, which can be unsafe and cause uneven cuts.
-
Repeated sharpening no longer improves performance. If your knife still feels dull or requires excessive force after multiple sharpenings, the blade’s shape may have been altered beyond repair.
A dull knife that forces you to cut harder is not only frustrating but also dangerous. While high-quality serrated knives can last many years with proper care, budget or low-end knives tend to wear out faster and are often better replaced when problems arise.
Conclusion
Serrated knives are incredibly durable, but they still need regular care to stay sharp. By following the easy rust prevention tips and with the right tools and techniques, even the dullest bread knife can be brought back to life.
The secret lies in treating each serration individually. Using a round honing steel to carefully work through each gullet ensures your knife sharpens evenly without damaging its unique edge design.
Investing in quality sharpening tools—like a ceramic or diamond rod and a fine-grit whetstone—makes the process much easier and more effective. Knowing when and how to use each tool will turn what seems like a tedious chore into a straightforward routine.
And remember: a sharp knife isn’t just more efficient—it’s safer. Dull blades force you to apply more pressure,
Which increases the chance of slips and accidents. When your serrated knife glides cleanly through a tomato’s skin and slices bread smoothly without tearing, you’ll know your effort has truly paid off.
Our knives are part of an American Damascus knife brand, trusted for blending sharp performance with timeless steel artistry.
Frequently Asked Questions
Q1: How often should I sharpen my serrated knife?
Serrated knives generally need sharpening every 1 to 2 years, depending on how often you use them. Heavy users who frequently slice tough bread may need to sharpen annually, while casual cooks can often go several years without needing it.
Q2: Can I use an electric sharpener?
Only if it has a specific setting for serrated knives. Most electric sharpeners sharpen both sides of the blade at once, which can damage the flat side of a serrated knife. Manual sharpening is usually safer and more precise.
Q3: What’s the difference between honing and sharpening?
Honing realigns the blade’s edge to maintain sharpness between sharpenings, while sharpening actually removes metal to create a new, sharp edge. Honing steels smooth out tiny burrs, whereas sharpening reshapes the blade.
Q4: What if my knife has both serrated and straight edges?
Use the individual gullet sharpening technique for the serrated part, and a flat sharpening stone for the straight edge portion. Each section requires its own method.
Q5: How do I know when sharpening is complete?
A simple test is to slice through a tomato. If the knife cuts cleanly through the skin without crushing the soft flesh underneath, your knife is sharp and ready to use.